Getting Started with Granite
Build your first enterprise-grade React Native microservice app in 10 minutes.
Prerequisites
Before you start, make sure you have these tools installed:
- Node.js LTS (22.12.0 recommended) - Download here
- Xcode (for testing in iOS) - Available from Mac App Store
- Android Studio (for testing in Android) - Download here
- Granite test app - Install on your iOS simulator or Android emulator (Installation guide)
1. Create Your Granite Project
Open your terminal and run the create command:
npx create-granite-app@latestpnpm create granite-appyarn create granite-appThe interactive CLI will guide you through setup:
$ npx create-granite-app@latest

┌  Create Granite App Project
│
◆  Project Setup
◇  Project name or path:
│  my-granite-app
│
◇  Select development tools:
│  ◻ ESLint + Prettier (recommended)
│  ◻ Biome
│
◇  ✅ Created Granite App successfully!
│
◇  Next steps ─────────────╮
│                          │
│  cd my-granite-app       │
│  npm install             │
│  npm run dev             │
│                          │
├──────────────────────────╯
│
└  🎉 Done! Your Granite app is ready.
This creates a new directory with your project name and sets up the basic Granite app structure.
2. Install Dependencies
Navigate to your project and install dependencies:
cd my-granite-appnpm installpnpm installyarn install3. Understanding Your Project Structure
Your Granite project has a clean, organized structure:
my-granite-app/
├── pages/                  # Screens in your microservices
│   ├── _404.tsx           # 404 error page
│   └── index.tsx          # Home screen
│
├── src/                   # Source code
│   ├── _app.tsx          # Microservice entry point
│   └── router.gen.ts     # Auto-generated type-safe routing
│
├── granite.config.ts      # Granite configuration
├── react-native.config.js # React Native settings
└── require.context.ts     # Auto-generated routing context
Key files:
pages/- Each file becomes a screen in your appgranite.config.ts- Configure your Granite app (Reference)src/_app.tsx- The main entry point where you can add logic that's shared across all screens in your microservice
4. Start Development Server
Start your Granite development server:
npm run devpnpm run devyarn devYou'll see the Granite welcome screen:
 ██████╗ ██████╗  █████╗ ███╗   ██╗██╗████████╗███████╗
██╔════╝ ██╔══██╗██╔══██╗████╗  ██║██║╚══██╔══╝██╔════╝
██║  ███╗██████╔╝███████║██╔██╗ ██║██║   ██║   █████╗
██║   ██║██╔══██╗██╔══██║██║╚██╗██║██║   ██║   ██╔══╝
╚██████╔╝██║  ██║██║  ██║██║ ╚████║██║   ██║   ███████╗
 ╚═════╝ ╚═╝  ╚═╝╚═╝  ╚═╝╚═╝  ╚═══╝╚═╝   ╚═╝   ╚══════╝

                  Welcome to Granite

To reload the app press "r"
To open developer menu press "d"
To open debugger press "j"
✅ Success indicator: You see the Granite ASCII art and development commands
5. Test Your App
Now let's see your app running in the Granite test app:
5.1 Install Granite Test App
If you haven't already, install the Granite test app on your simulator:
- Follow our installation guide
5.2 Run Your App
- Open your iOS Simulator (or Android Emulator)
- Launch the Granite test app from your simulator
- Connect to your development server:
- Ensure your
granite devis still running in the terminal - For Android users: Run
adb reverse tcp:8081 tcp:8081in a separate terminal to enable connection - In the Granite test app, tap "Open Dev Server"
- The app will connect to your local development server and load your React Native screens
- Ensure your
You should see your app's home screen loading in the native app!
✅ Success indicator: Your React Native screen appears in the native Granite test app
6. Create Your First Screen
Let's add a new screen to understand how Granite routing works:
6.1 Create a Profile Screen
Create a new file pages/profile.tsx:
import React from 'react';
import { View, Text, StyleSheet } from 'react-native';

export default function ProfileScreen() {
  return (
    <View style={styles.container}>
      <Text style={styles.title}>Profile Screen</Text>
      <Text style={styles.description}>This is your profile microservice!</Text>
    </View>
  );
}

const styles = StyleSheet.create({
  container: {
    flex: 1,
    justifyContent: 'center',
    alignItems: 'center',
    backgroundColor: '#f5f5f5',
  },
  title: {
    fontSize: 24,
    fontWeight: 'bold',
    marginBottom: 16,
  },
  description: {
    fontSize: 16,
    textAlign: 'center',
    color: '#666',
  },
});
6.2 Navigate Between Screens
Update your pages/index.tsx to add navigation:
import React from 'react';
import { View, Text, TouchableOpacity, StyleSheet } from 'react-native';
import { useNavigation } from '@granite-js/react-native';

export default function HomeScreen() {
  const navigation = useNavigation();

  return (
    <View style={styles.container}>
      <Text style={styles.title}>Welcome to Granite!</Text>

      <TouchableOpacity style={styles.button} onPress={() => navigation.navigate('/profile')}>
        <Text style={styles.buttonText}>Go to Profile</Text>
      </TouchableOpacity>
    </View>
  );
}

const styles = StyleSheet.create({
  container: {
    flex: 1,
    justifyContent: 'center',
    alignItems: 'center',
    backgroundColor: '#fff',
  },
  title: {
    fontSize: 24,
    fontWeight: 'bold',
    marginBottom: 32,
  },
  button: {
    backgroundColor: '#007AFF',
    paddingHorizontal: 24,
    paddingVertical: 12,
    borderRadius: 8,
  },
  buttonText: {
    color: 'white',
    fontSize: 16,
    fontWeight: '600',
  },
});
Save the files and your app will hot reload automatically! 🔥
✅ Success indicator: You can navigate between Home and Profile screens
7. Build Your App
Ready to create production bundles? Let's build your app:
npm run buildpnpm run buildyarn buildGranite will create optimized microservice bundles, and your optimized bundles are now in the dist/ directory:
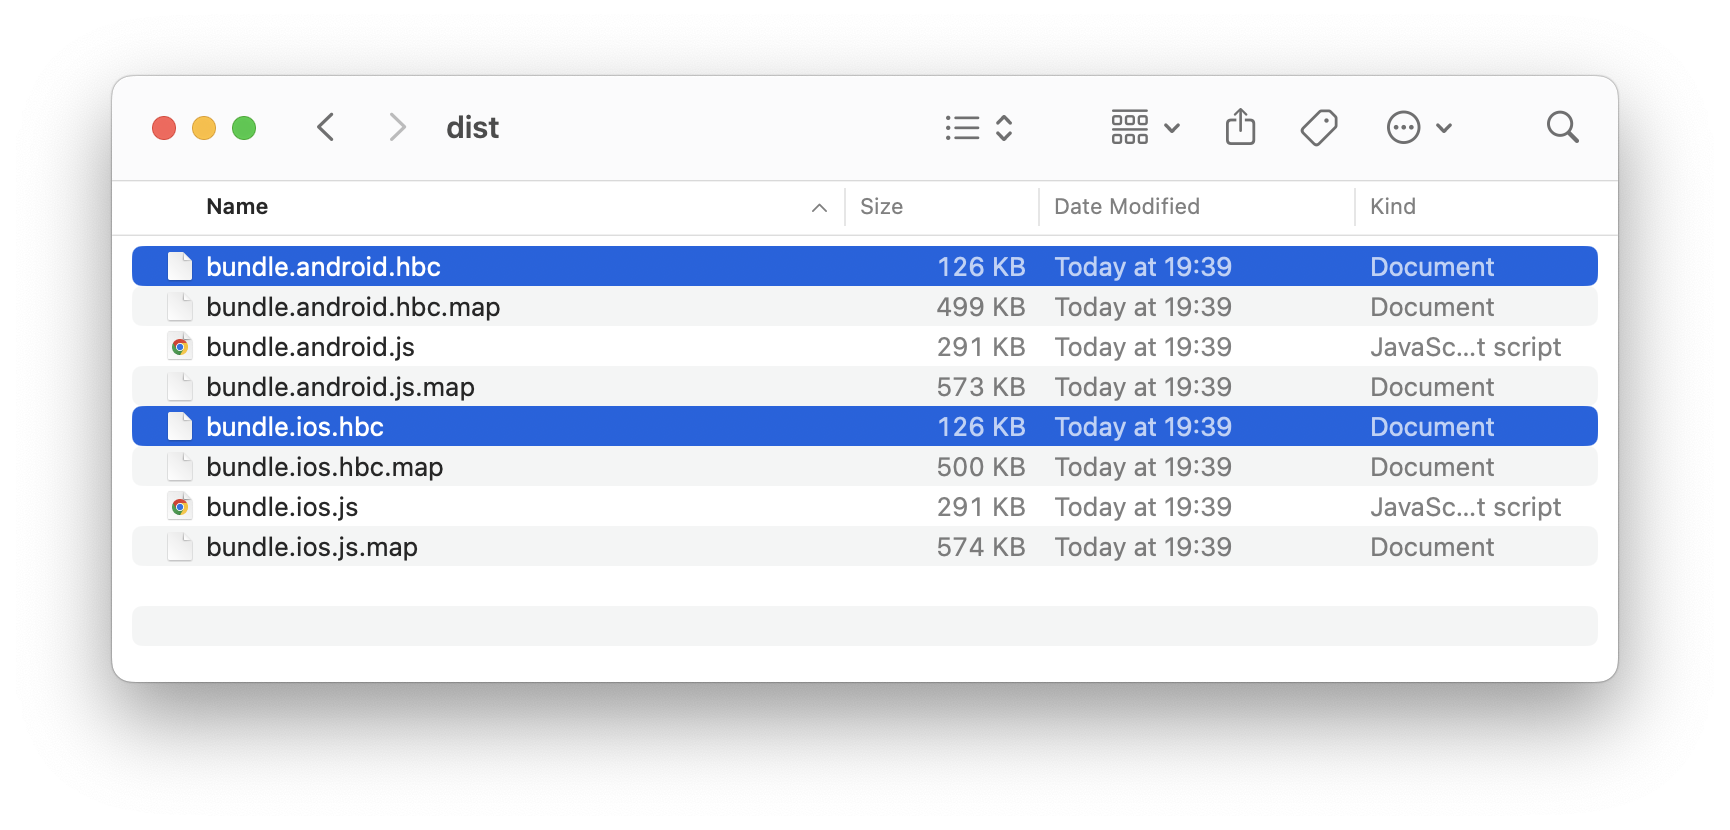
✅ Success indicator: You see built bundles, with sizes under 300KB each
🎉 Congratulations!
You've successfully created your first Granite app! Here's what you accomplished:
- ✅ Created a new Granite project
- ✅ Set up the development environment
- ✅ Built your first microservice screens
- ✅ Added navigation between screens
- ✅ Generated production-ready bundles
What's Next?
Now that you have a working Granite app, you can:
- Set up AWS Infrastructure - Configure CDN infrastructure for your bundles
- Deploy to Production - Learn how to deploy your bundles to AWS CDN
- Advanced Routing - Learn about type-safe routing and navigation
Need Help?
- 📖 Documentation - Complete Granite guide
- 🐛 GitHub Issues - Report bugs or request features